Table of Contents
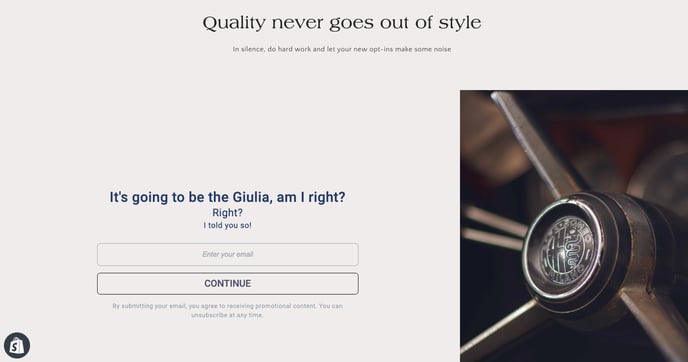
The Embedded Form Opt-in Tool will help you collect subscribers and grow your text list. It is a built-in form, integrated directly into your website's content, and appears as a form that users can fill out with their email address and/or phone number. These opt-ins will serve the purpose of subscribing users and collecting valuable data.
Embedded opt-ins will blend in with the site and will be present on the storefront as part of the site. You can decide where the form is embedded on your website.
This seamless integration makes it convenient for both website owners and users to facilitate communication and stay connected.
How to Create an Embedded Form Opt-in Tool
In the Recart App
-
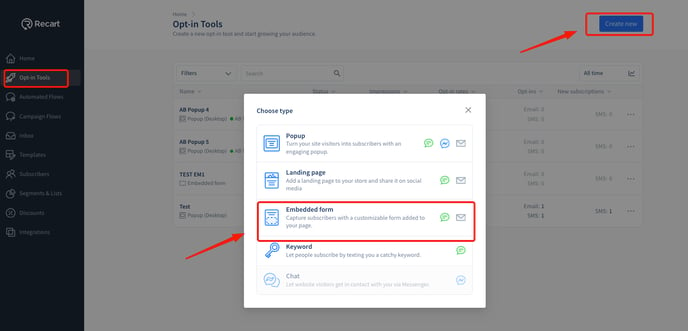
Go to your Opt-in Tools page in the Recart app
-
Click Create New and select Embedded Form
-
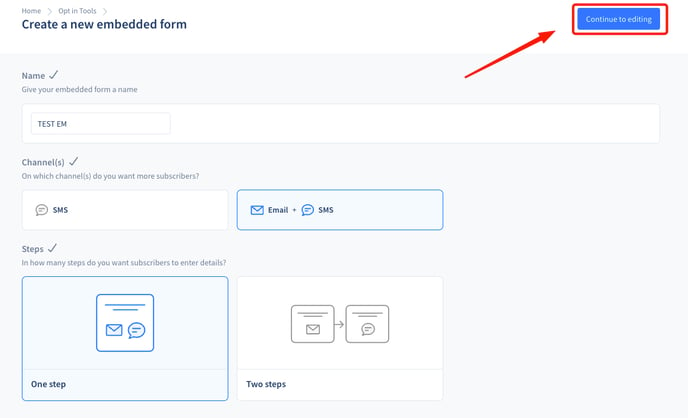
Select the settings you would like to use and click Continue Editing
-
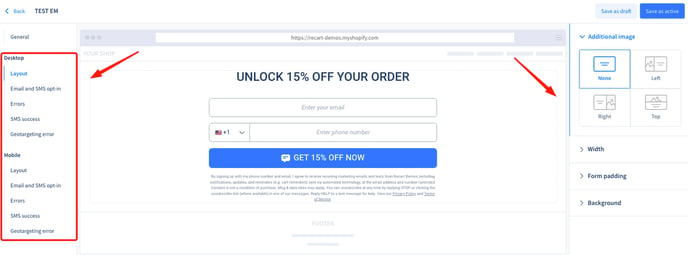
Under layout edit the look of your form to suit your brand and your website
- PRO TIP: In the background tab, ensure that you drag the opacity slider all the way to the bottom. This way, the background becomes transparent, allowing your website's colors to shine through.
- PRO TIP: In the background tab, ensure that you drag the opacity slider all the way to the bottom. This way, the background becomes transparent, allowing your website's colors to shine through.
-
Under general connect your embedded form to a welcome flow
-
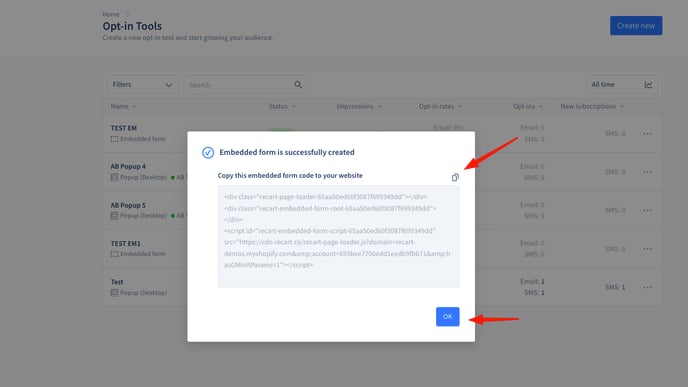
Copy the embedded form code and click save as active
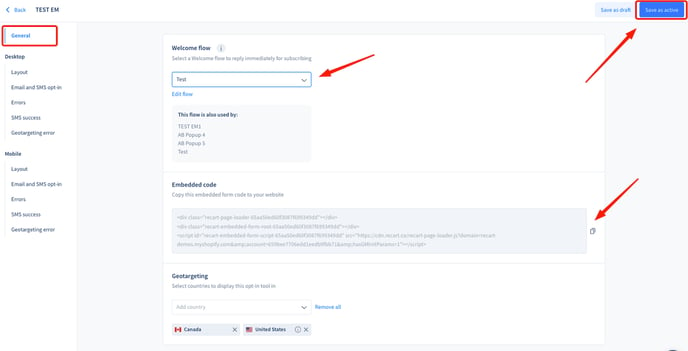
-
If you are activating an embedded form for the first time, a popup will appear after you have clicked save as active where you can also copy the embedded form code
🎥 Watch this video for detailed instructions on setting up an Embedded Form Opt-in Tool in Recart
In Shopify
On All Site Pages
-
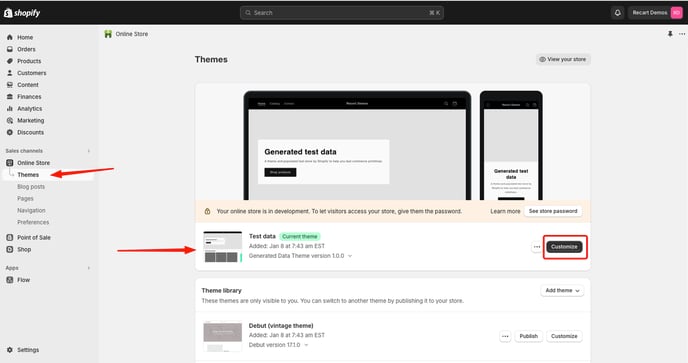
Log in to your Shopify account and click on the Sales channels
-
Then click Themes under your Online Store
-
Click Customize on the left-hand side
-
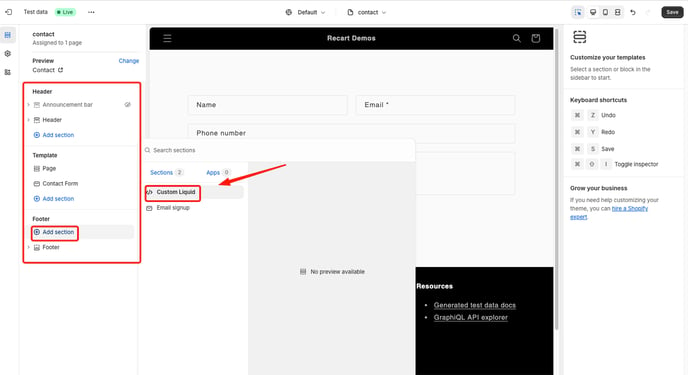
Decide where you want the form to go: in the Header, Footer, or Template (body) of your site

-
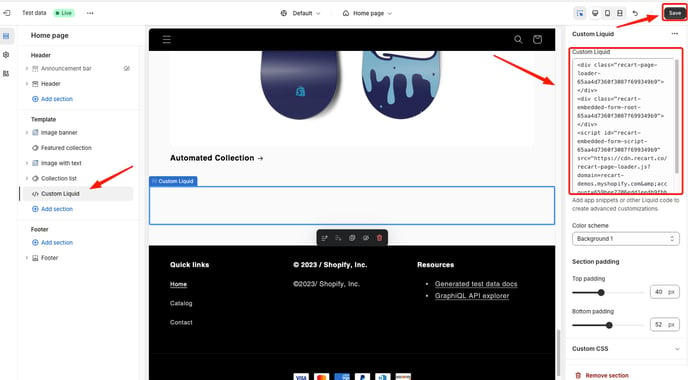
Select </> Custom Liquid
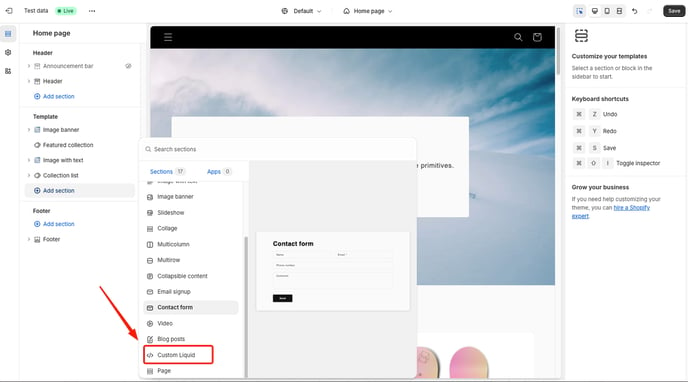
-
Drag </> Custom Liquid on the right to the exact place on the page you would like the form to display
-
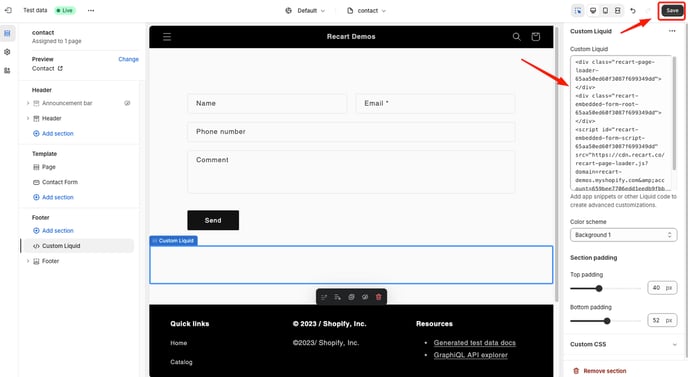
Paste the Embedded form code on the left-hand side in the Custom Liquid box and click Save
-
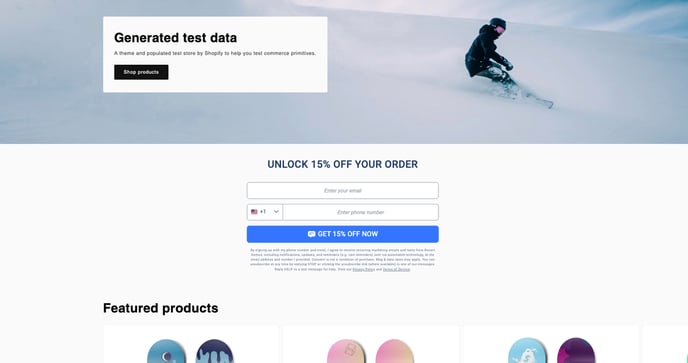
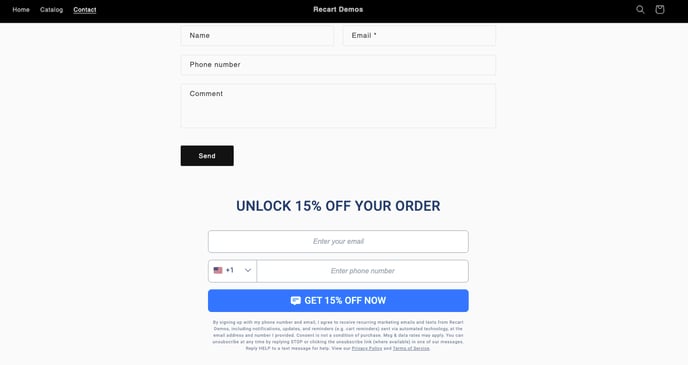
The form will now be displayed in this panel on all pages of your website
🎥 Watch this video for detailed instructions on setting up an Embedded Form in Shopify for all site pages
On Specific Pages
-
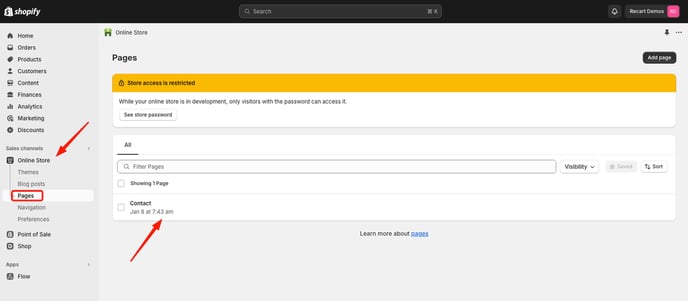
Log in to your Shopify account and click Pages under your Online Store
-
Click on the page you want the form to be shown on
-
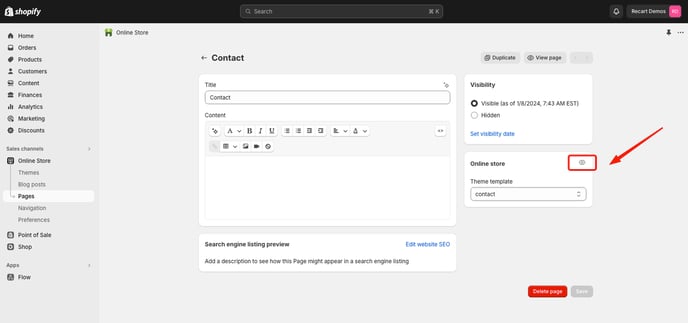
Click on the eye symbol (view template) next to Online store on the left side
-
Decide where you want the form to go: in the Header, Footer, or Template (body) of your site
-
Select </> Custom Liquid and drag it on the right to the exact place on the page you would like the form to display
-
Paste the Embedded form code on the left-hand side in the Custom Liquid box and click Save
-
The form will now be displayed in this panel on the page/s you selected for your website
🎥 Watch this video for detailed instructions on setting up an Embedded Form in Shopify for specific pages
Use case: a specific product is out of stock and you want people to opt-in to receive a notification once the product has restocked
-png.png?width=592&height=193&name=image%20(2)-png.png)
-png.png?width=336&height=243&name=image%20(1)-png.png)
✨Try it for yourself here with our guided video 👇🏼
If you have any remaining questions, do not hesitate to contact the Customer Support team.