Table of Contents
- What is a Custom Triggers Flow and how does it work?
- How to create a Custom Triggers Flow
- Common Use Cases
What is a Custom Triggers Flow and how does it work?
- Custom Triggers is an automated flow triggered when the subscriber enters a specific segment.
- We assume you are familiar with our Segmentation feature, but if it’s not the case, please first check this article.
- The Custom Trigger Flows will be triggered when the subscriber enters the targeted Segment. It is triggered by user action only when the subscriber’s behavior meets the conditions of the Segment.
- No Admin action, such as creating or modifying a Segment, or importing subscribers will trigger the message.
- Subscribers that were members of the Segment before activating the Custom Triggers Flow will not receive the text.
- In case you would like to target subscribers who were members of a Segment before you activated the Custom Triggers automation, you will need to create a One-off flow and target the given Segment.
Important notes:
- You can target only one Segment with one Custom Trigger Flow, but you can set up multiple Segments and Flows separately.
- When a user joins multiple segments that are targeted with an automated flow, each automated flow will be sent. Ensure your targeted segments do not overlap and you do not send multiple messages to the same users.
How to create a Custom Triggers Flow
- In order to create a Custom Triggers Flow, first, you will need to create a Segment.
- When your Segment is ready, you can proceed with activating the Custom Triggers Flow.
- Go to the Automated Flows Page and choose
Custom Triggers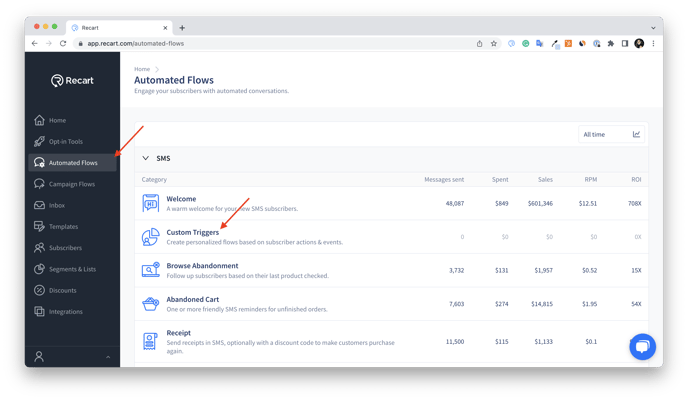
- Go to the Automated Flows Page and choose
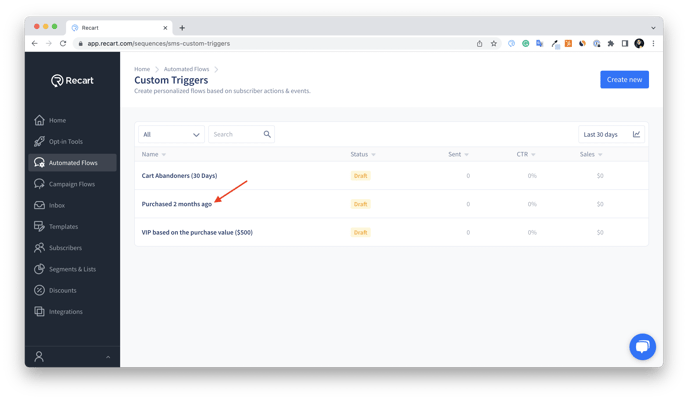
- You will see the prebuilt Custom Triggers Flows. In order to activate them, click on their name.
- You will be redirected to the editor. After customizing the setup, click
Activatein the upper right corner.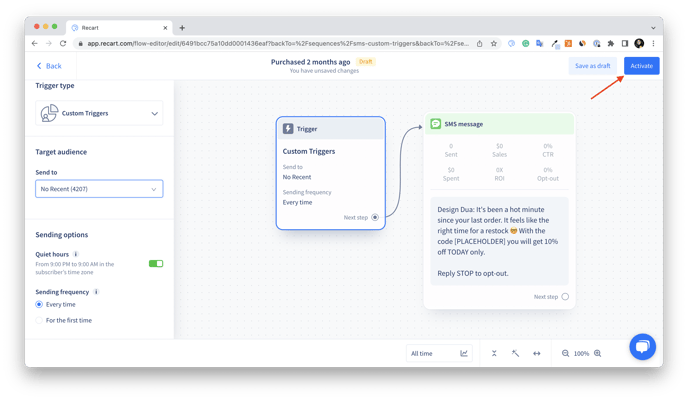
- If you’d prefer to create new Custom Triggers Flows from scratch, click on the
Create newbutton in the upper right corner.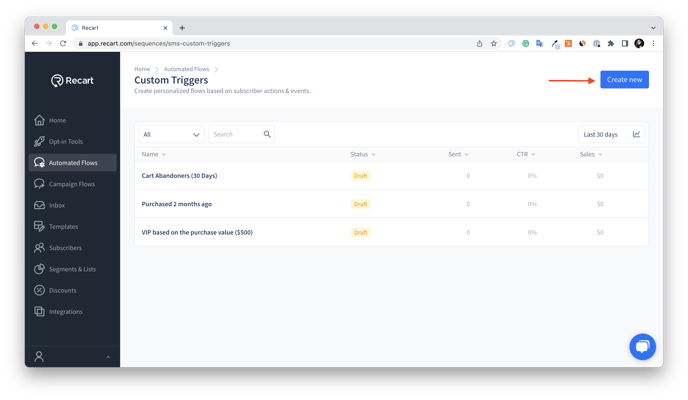
- You will be redirected to the editor where you can customize the sending settings
- Rename the flow on the top of the editor.
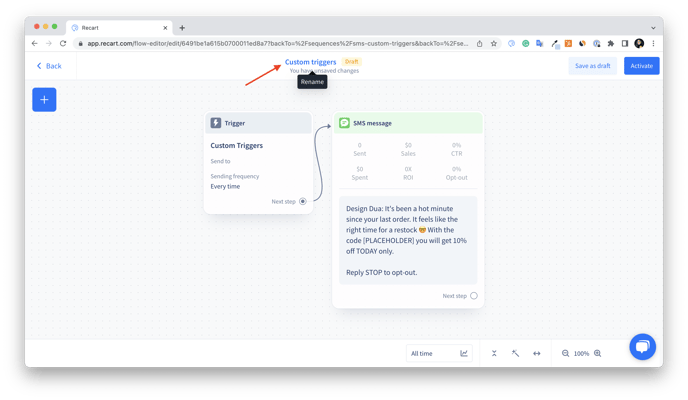
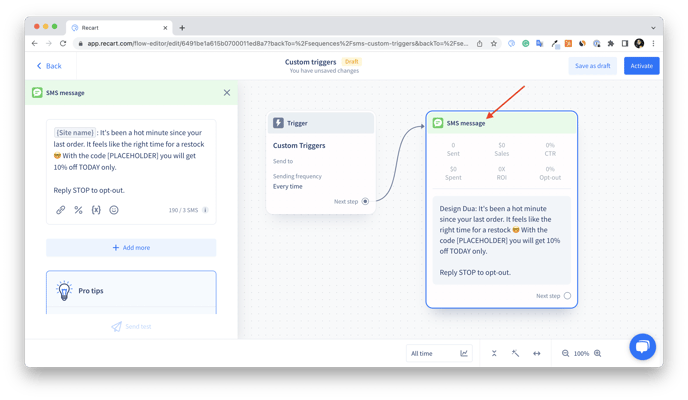
- Click on the Message item to customize the text on the left side of the editor.
Click on the Custom Triggers item to open the flow settings.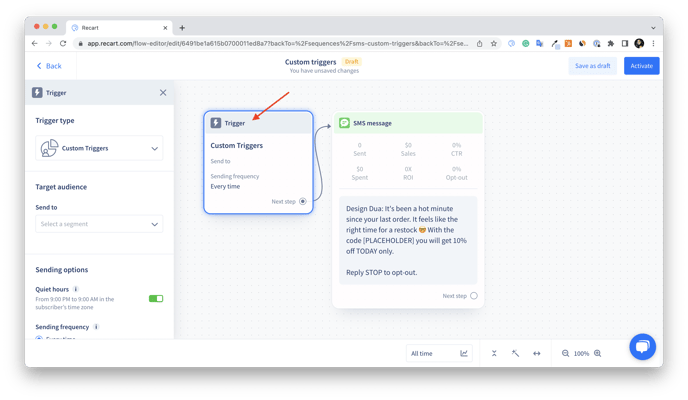
- Rename the flow on the top of the editor.
- Here you’ll be prompted to finalize the below settings:
- Add the audience you’d like to target in the Send to section.
- Quiet hours are turned on by default to avoid bothering your subscribers. If the user is in Quiet Hours, the message delivery will be postponed. Learn more about Quiet Hours here.
- Set up the sending frequency. The message is either sent every time the user joins the Segment or only when the user enters the Segment for the first time.
- When you are ready you can save the flow as a draft or activate it right away in the upper right corner.
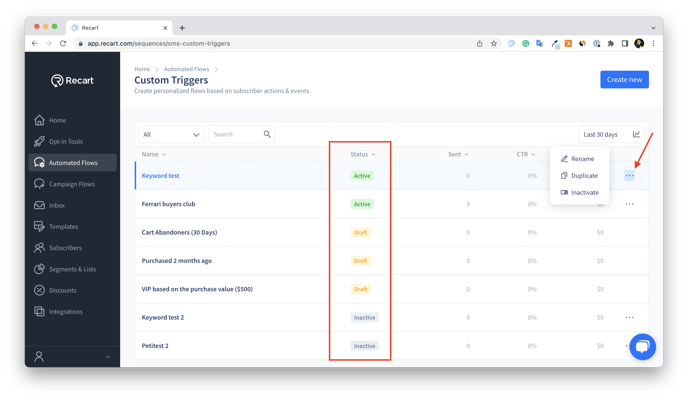
Custom Triggers Flow Status
- Draft - The message will be in Draft status before it is activated for the first time.
- Active / Inactive - Once the message is activated, you can switch between Active and Inactive statuses. Navigate to Automated flows, Custom Triggers, and click on the three dots next to the Custom Triggers Flow you’d like to turn on or off.
Common Use Cases
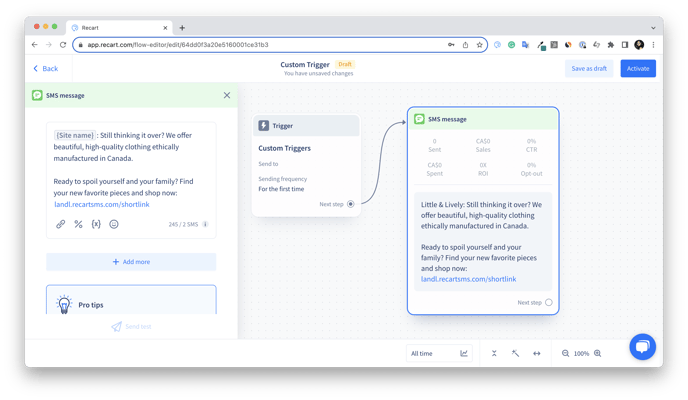
Subscriber Activation
Encourage subscribers who opted in to your text list and have not placed an order to do so
Pro Tip: Make sure to set a delay that will trigger the messages after the last follow-up in your welcome sequence was sent.
- Segment
Has subscribed to SMS, not in the last 14 days and Has not placed an order
- Text example
Still thinking it over? We offer beautiful, high-quality clothing ethically manufactured in Canada. Ready to spoil yourself and your family? Find your new favorite pieces and shop now: {Site URL}
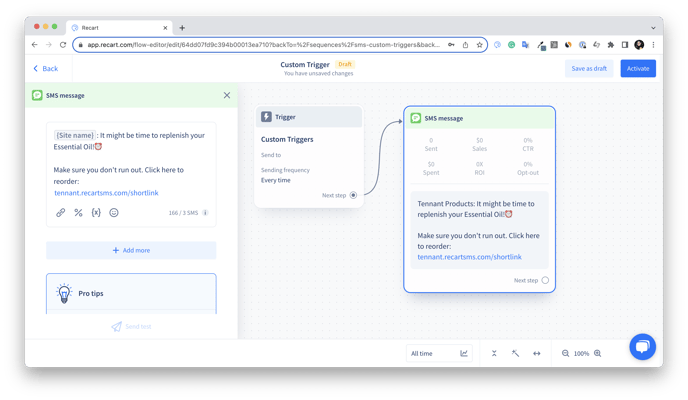
Encourage reorders and promote retention
Send product-specific replenishment reminders
- Segment
Has placed an order not in the last 30 days where the product name is any of these {product name}
- Text example
It might be time to replenish your {product name}! Make sure you don’t run out. Click here to reorder now: {Product page URL}
Upsell or Cross-sell products that are frequently purchased together
Analyze which products are typically sold together and leverage your customers’ purchase history to target them with specific product recommendations.
- Segment
Has placed an order not in the last 1 day where product type is {product type} and had not placed an order in the last 30 days where product type is {product type}
- Text example
Time to make a statement in your brand-new eyewear.😎 Take a look at our accessories too and elevate your style now: {Site URL}
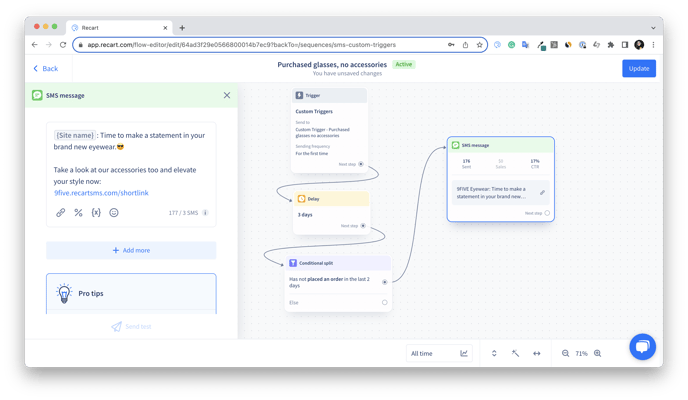
Note: Make sure you set up the time filter in the segment conditions and the delay in your messages consistently. In the above example, subscribers will enter the segment 1 day after their purchase, and the Custom Trigger will be sent 3 days later. Learn more about the Conditional Split here.
For more examples of handy Custom Triggers read our article on Custom Triggers Automated Flow Use Cases.
👉 If you have any remaining questions, do not hesitate to contact the Customer Support team.